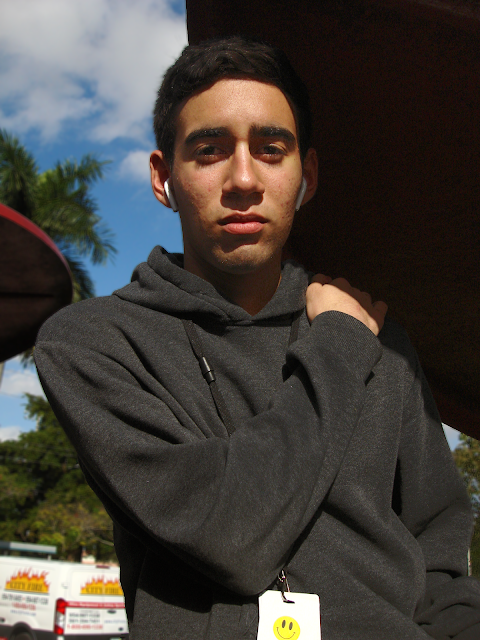
Ruben solo shot
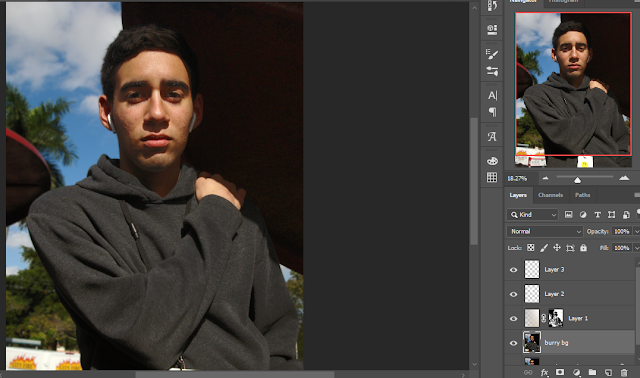 |
Similar to the other pics from this shoot, this picture had a problem with harsh shadows. I used the same trick to solve the problem.
- Opened a new layer went back to the original layer
- Color range selected all the dark areas
- Moved into the layer I made on top of it
- I placed a white gradient in that layer and set the blending mode to soft light.
- When I noticed that I would need to give special work to the face
- I opened a new layer, set the blending mode to overlay
- I used a brush with the hardness set to zero in the color white to brush on light onto his face.
|
This is the finish product....there is a slight graininess but that's fine because I don't plan to use it at this size.
Alejandro Solo Shot
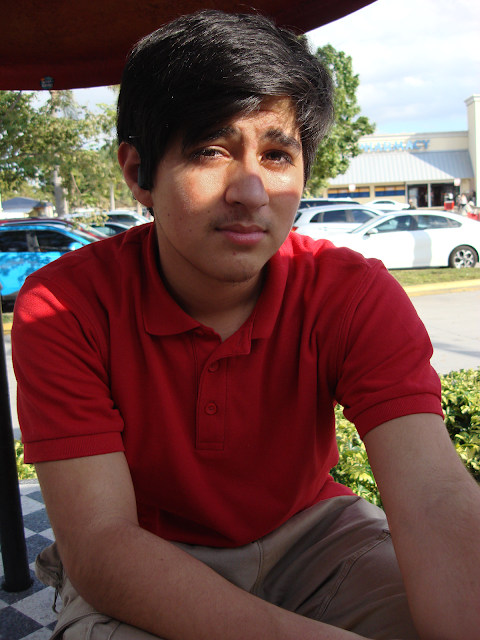 |
For this picture, I didn't do any significant edits
I just fixed some tones and cropped it |


No comments:
Post a Comment